How to Contribute to Open Source Projects Step by Step
How beginner developers can contribute to open-source and learn open-source standards during GSSoC 2023.

In this peak period, when everyone is creating their PR for hacktoberfest, do you still wonder how to create one, or do you have hundreds of doubt about how to create one? Don't worry, I got you . I have thoroughly covered every step that will assist you in Making your first PR in this second blog of the Open Source series.
Ready to get started?🤔 Let's go
First Thing First -
1. Choose a project:
If you're contributing for the first time, there are a number of amazing repositories where you can find issues to contribute to, including:
http://opensourcefriday.com/
http://goodfirstissues.com/
http://goodfirstissue.dev/
Look for 'GSSoC'23' repo tag, find all eligible repos here.
Choose one and move forward.
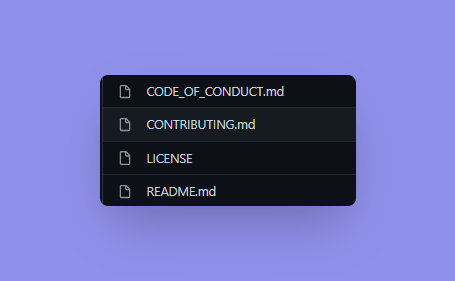
Before moving forward, make sure to check their contribution guidelines, which are usually located as Contributing .md
Every open-source project has its own set of guidelines to assist you in making significant contributions that bring value to the project.
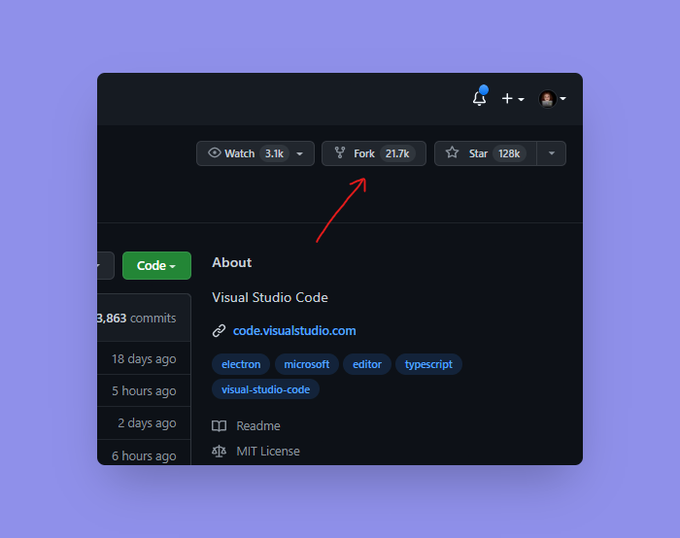
2.Fork the repository:
Once you've decided on a project, fork it to make a copy of repo in your GitHub account.
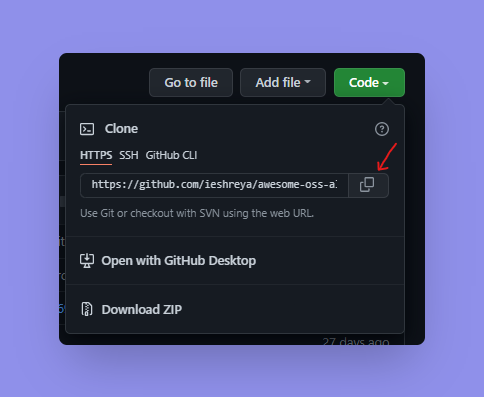
3. To clone the forked repository to your local system, go to the repository and copy the URL:
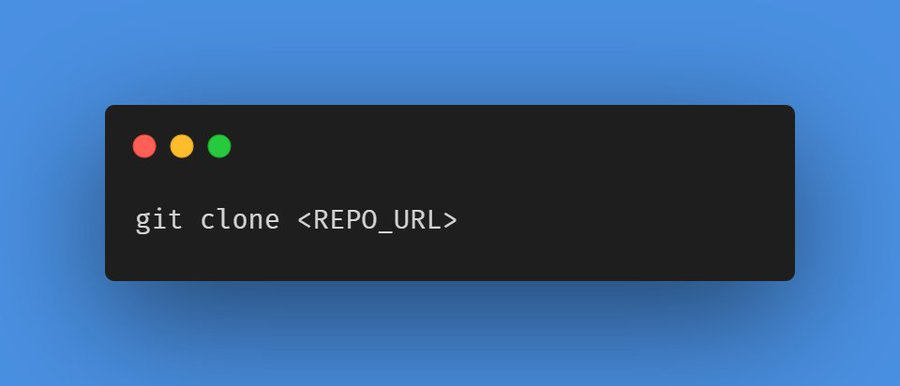
4.Cloning the repository:
Open your terminal and run the git command -
: repo URL you just copied
5.Opening the local repository:
You've now cloned the repo. Navigate to this local repository using the command -
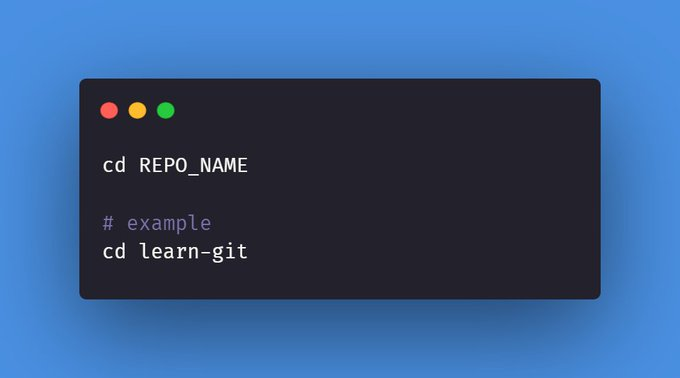
Let's have a look at how it's done ⤵️
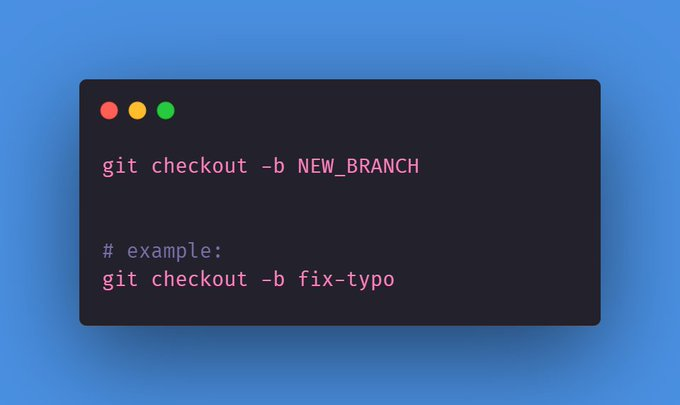
6.Creating a new branch:
We'll use the command git checkout, which switches b/w the branches in a repository -
7.Make changes
Open the editor of your choice (eg. VS Code,Notepad++). Now it's time to finally make all the necessary edits you want to add.
We created a branch "fix-typo" above, which can include changes like -
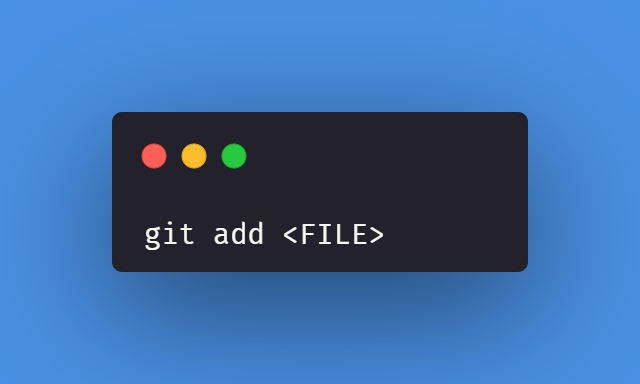
8.Add the changes to repository:
To save these changes to the staging area, we use the command "git add". They won't be visible until we "git commit" them.
So let's do this in the next step below
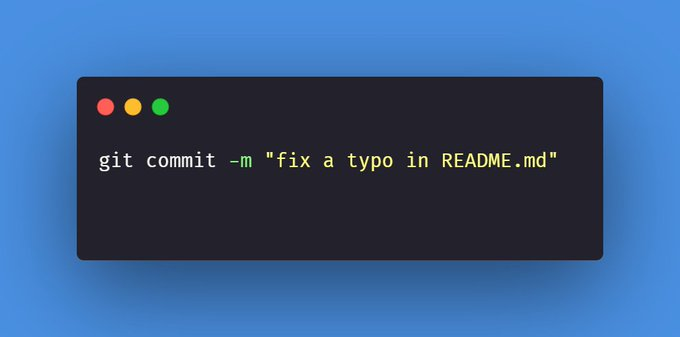
9.Commit the changes:
We must commit our changes to make our edits visible:
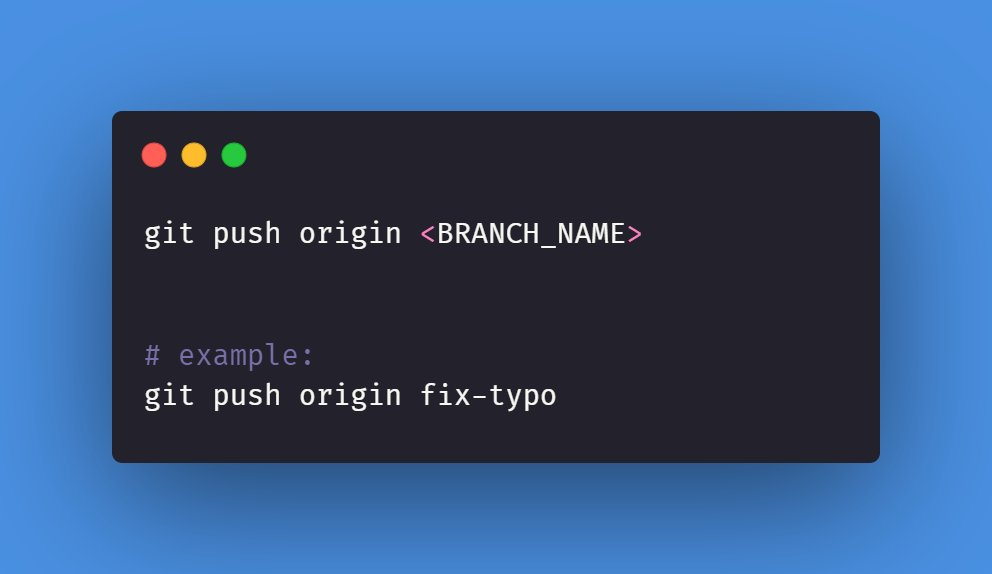
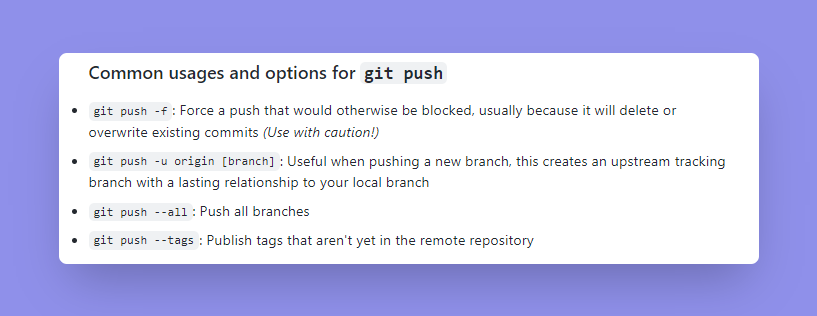
10.Push the changes to GitHub:
Right now, we are working locally. Let's push these changes to GitHub
11.Make a pull request:
At this point, you have successfully committed the changes to your forked GitHub repository, the final step is to open a pull request and describe your changes.
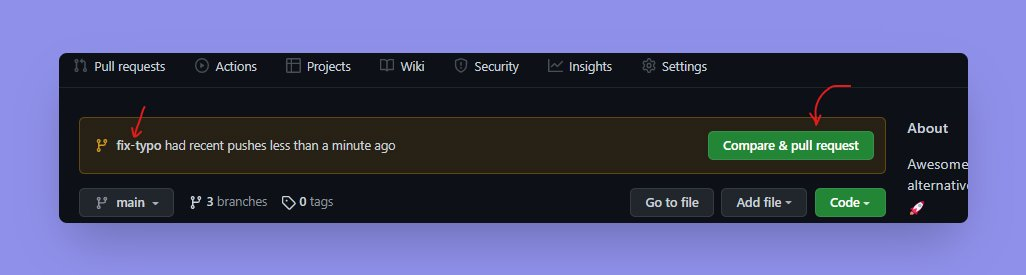
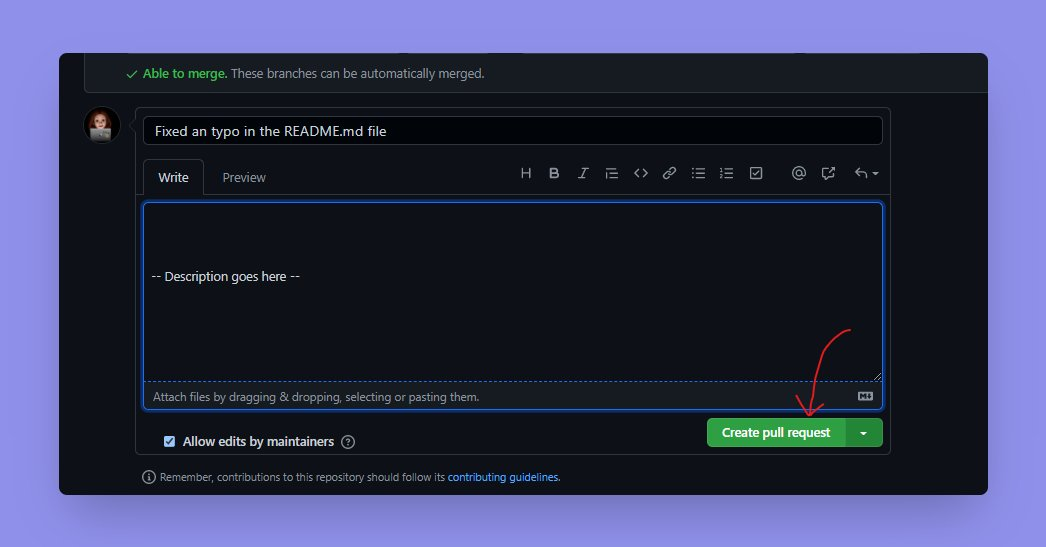
This will notify the project owner that you have made some changes to the project. Now wait for some time for your submission to be reviewed.
If there are no issues, your branch will be merged or else the project maintainers will assist you in making the necessary modifications.
Congrats! You've just made your first contribution to an open-source project.🤩🤩
Tips for beginner-friendly open-source contributions:
Check out open issues for your favorite open-source projects.
Within these projects, look for issues with the beginner-friendly and first-timers-only tags, these are the issues you want to focus on!
Check out no-code and low-code contributions.
Read the docs carefully. If you are making changes to them, are your docs in the correct format?
Don't commit commented code.
Keep commits small, don't make large changes within a single commit.
Look at previous issues and analyze their discussions, are the maintainers open to new features?
Don't be afraid to open up PRs on your own repos for practice!
Final Thoughts:
The process of contributing to open-source teaches valuable skills important to any beginner developer.
Any developer can make an open-source contribution! While it may be tempting to assume open-source is reserved for the "PROs," the reality is that all of those "PROs" were beginners at one point too. **So it's better to get started sooner rather than later. 😊 **
GirlScript Summer of Code is a fantastic way for developers of all abilities to become engaged in open-source programming. So what are you waiting for? Happy Hacking!


